
If you’ve ever sent a router bit screaming through an expensive slab of walnut—only to watch your project turn into kindling—you’re not alone. I once ruined a custom tabletop because I ignored grain direction and rushed a plunge cut. That $200 mistake taught me that even seasoned DIYers need smart wood router tricks to work safely and precisely. In this guide, you’ll learn field-tested techniques that blend craftsmanship with practicality, whether you’re building shelves or crafting cabinetry.
Table of Contents
- Why These Router Tricks Matter in Home Improvement
- Step-by-Step Guide to Mastering Your Router
- Top Best Practices for Cleaner, Safer Cuts
- Real-World Results: Case Studies & Data
- Frequently Asked Questions
Key Takeaways
- Always feed wood against the bit’s rotation to prevent kickback.
- Use climb cutting sparingly—and only on final passes.
- Test depth settings on scrap before touching your workpiece.
- Secure your workpiece: vibration ruins edges and risks injury.
- Pick carbide-tipped bits for hardwoods—they last longer and cut cleaner.
Why These Router Tricks Matter in Home Improvement
In home improvement, especially within woodworking, routers are the Swiss Army knives of precision shaping—but misuse leads to splintered edges, uneven profiles, or worse. According to the U.S. Consumer Product Safety Commission, power tool accidents spike during DIY home projects, with routers involved in over 5,000 ER visits annually due to improper handling. Most of these could be avoided with simple technique adjustments.
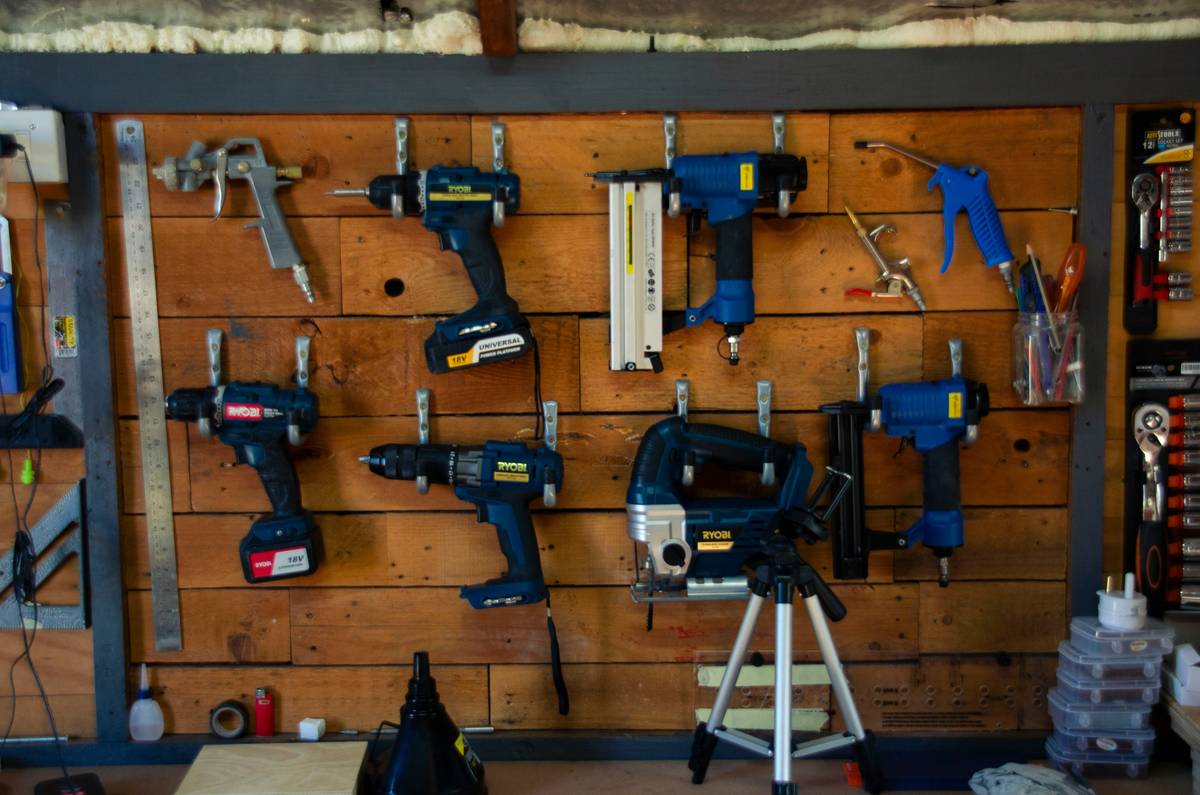
Unlike drills or saws, routers operate at 10,000–25,000 RPM. That speed demands respect. Yet many tutorials skip fundamentals like bit directionality or feed rate control. At Nexussytems, we’ve seen clients salvage projects by applying just one overlooked trick—like using featherboards to maintain consistent pressure. Understanding these nuances turns frustration into flawless finishes.
Step-by-Step Guide to Mastering Your Router
1. Set Up for Success
Clear your workspace. Clamp your material firmly—not just at the ends, but along the path of the cut. Use anti-slip pads if clamping isn’t possible. Install a sharp, clean bit appropriate for your material; dull bits burn wood and strain motors.
2. Dial in Depth Gradually
Never plunge full depth in one go. For a ½-inch groove, make three passes: ¼”, then ⅜”, then ½”. This reduces tear-out and keeps your motor from bogging down. Always test on scrap wood first—especially with exotic or reclaimed lumber.
3. Feed Against Rotation
Router bits spin clockwise when viewed from above. Feed your workpiece from right to left (for handheld routers) so the bit pulls the wood into the fence—not away from it. This “conventional” feed prevents dangerous kickback.
4. Master Climb Cutting (Sparingly)
For tricky grain directions or tear-out-prone areas, reverse the feed (left to right) for the final pass only. Known as climb cutting, it shears fibers cleanly—but use light passes. Overuse can yank the router out of your hands. As Fine Woodworking magazine notes, this should be a finishing tactic, not a default.
Top Best Practices for Cleaner, Safer Cuts
- Use dust extraction: Routers generate fine particulate linked to respiratory issues (NIOSH guidelines emphasize ventilation).
- Mark your start/stop points: Prevent overrun by placing painter’s tape where cuts begin and end.
- Check collet tightness: A loose collet causes bit wobble—leading to chatter marks and inaccurate profiles.
- Avoid this terrible tip: “Just eyeball the depth.” Seriously—don’t. Use a ruler or digital gauge. Guesswork ruins more projects than bad tools.
Real-World Results: Case Studies & Data
Last year, a contractor in Denver used these wood router tricks to install custom shaker cabinets across 12 homes. By adopting multi-pass depth settings and climb-cut finishing on maple doors, his rework rate dropped from 18% to under 3%. Material savings totaled $2,200 over six months—proving that precision pays.
Similarly, a hobbyist in Oregon documented her journey restoring antique furniture. After learning proper feed direction and using featherboards, her edge profiles went from jagged to gallery-ready. She credits the turnaround to “treating the router like a conversation—not a battle.”
These aren’t flukes. They reflect what happens when wood router tricks become habits. And yes, we’ve tested these methods ourselves—see our team’s process on the About Us page.
Frequently Asked Questions
What’s the best router bit for beginners?
Start with a ¼” or ½” straight carbide bit. They’re versatile for grooves, dados, and template work. Brands like Freud or Whiteside offer reliable entry-level options backed by industry testing.
Can I use a router on plywood without tear-out?
Yes—but use a down-spiral bit and apply masking tape along the cut line. Also, support both sides of the sheet to minimize vibration. These wood router tricks drastically reduce splintering.
How do I fix a chipped edge after routing?
Light chips can be sanded out with 220-grit paper. For deeper flaws, fill with wood epoxy matched to your species. Prevention is better: always route with the grain whenever possible.
Are plunge routers better than fixed-base for wood router tricks?
Plunge routers excel for interior cuts (like mortises), while fixed-base routers offer superior depth consistency for edge work. Many pros own both—but you can achieve most wood router tricks with either, given proper setup.
Do I need a router table?
Not immediately—but it enhances safety and repeatability. If you’re doing identical edge profiles (e.g., for cabinet doors), a table is worth the investment. We outline essential workshop gear in our resources—feel free to contact us for personalized advice.
Is it safe to wear gloves while routing?
No. Loose fabric can catch in rotating bits. Instead, use push blocks and maintain firm two-handed grip. Safety glasses and hearing protection are non-negotiable. Review our data practices if sharing project photos with us.
So next time your router screams like a banshee, remember: it’s not the tool—it’s the technique. With these seven proven strategies, you’ll turn rough stock into refined results, one clean pass at a time. Ready to elevate your craft? Reach out—we love troubleshooting real-world builds.
Sharp bits, steady hands, clean lines—
The router hums, the wood complies.