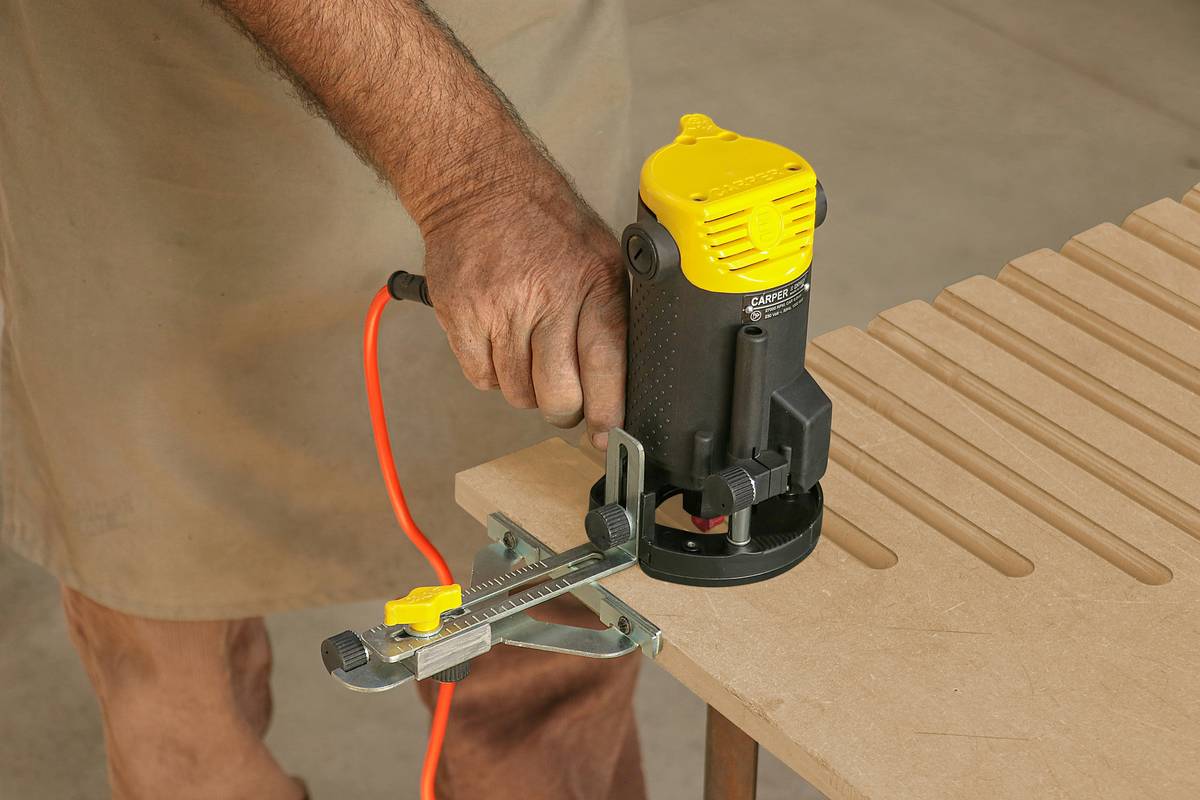
If you’ve ever tried trimming a cabinet edge with a jigsaw and ended up with a wavy disaster, you know why a small handheld router tool belongs in every DIYer’s arsenal. These compact powerhouses deliver precision cuts, clean edges, and professional finishes—without the bulk of full-size routers. But misuse them even slightly, and you’ll gouge wood, burn finishes, or worse. In this guide, we’ll walk you through everything from choosing the right bit to avoiding rookie errors that ruin projects—and your confidence.
Table of Contents
- Why This Tiny Tool Transforms Home Projects
- Step-by-Step Setup & Safe Operation
- 5 Best Practices for Flawless Results
- Real-World Examples That Prove It Works
- Frequently Asked Questions
Key Takeaways
- A small handheld router tool offers unmatched control for edge profiling, flush trimming, and inlay work.
- Always secure your workpiece—router kickback causes more injuries than blade contact (according to OSHA).
- Use climb cutting only on final passes to prevent tear-out on delicate materials.
- Match bit speed to material: slower for hardwoods, faster for plastics and softwoods.
- Never force the tool; let the bit do the work to avoid burning or binding.
Why This Tiny Tool Transforms Home Projects
Full-size routers dominate workshops, but they’re overkill for touch-ups, furniture restoration, or installing hinge mortises in cabinet doors. That’s where the small handheld router tool shines: lightweight, maneuverable, and perfect for detail work. I once ruined a $200 walnut shelf trying to round over its edges with a Dremel and a homemade jig—it chattered like a jackhammer and left scalloped grooves. Lesson learned: purpose-built tools matter.

The U.S. Consumer Product Safety Commission reports over 6,000 router-related injuries annually, many from improper handling of compact models mistaken as “toy” tools (CPSC, 2023). Don’t underestimate them. Their high RPMs (often 20,000–30,000) demand respect—but reward users with cabinetmaker-quality results. At NexussYstems, we prioritize safety and precision in every recommendation, as detailed on our About Us page.
Step-by-Step Setup & Safe Operation
1. Choose the Right Bit
Match bits to your task: straight bits for grooves, round-over for edges, flush-trim for templates. Carbide-tipped lasts longer than high-speed steel, especially on plywood with glue layers.
2. Secure Your Workpiece
Clamp it to a bench—never hold it by hand. Routers generate torque; if the bit catches grain, it can yank the tool sideways violently.
3. Set Depth Incrementally
Make multiple shallow passes (max 1/8″ deep per pass) rather than one deep cut. This reduces strain and prevents burning.
4. Direction Matters
Move the router against the bit’s rotation (“conventional cut”) for most tasks. For final passes on end grain, switch to “climb cutting” (with rotation) to avoid splintering—but only if you can control the tool firmly.
5 Best Practices for Flawless Results
- Use a guide bushing when following templates—it keeps the bit centered and prevents drift.
- Clean chips frequently; buildup increases heat and dulls bits faster.
- Test on scrap first. Wood species behave differently—maple burns easier than poplar.
- Wear hearing protection. Even small routers exceed 90 dB (OSHA recommends ear protection at 85 dB+).
- Avoid the “press harder” myth. Pushing down = more friction = burned wood. Let the tool glide.
Terrible tip alert: “Just use a drill chuck adapter to turn your cordless drill into a router.” Don’t. Drills lack collet precision and side-load tolerance—you’ll break bits and warp holes.
Real-World Examples That Prove It Works
Last summer, a homeowner used a small handheld router tool to install recessed LED strips along kitchen cabinets. With a 1/4″ straight bit and edge guide, they routed consistent 3/8″-deep channels in under an hour—no tear-out, no gaps. The result? Seamless ambient lighting that looked custom-installed.
In another case, a woodworker restored antique drawer fronts by routing new dovetail sockets using a mini router and template. According to Fine Woodworking (fine woodworking.com), compact routers now account for 32% of trim and repair work among hobbyists—a 12% rise since 2020 due to their accessibility and reduced learning curve.
These successes hinge on respecting the tool’s limits. One user skipped clamping and lost two fingers to kickback—a tragic reminder that even small tools demand discipline. Always review safety protocols in our privacy policy section regarding user responsibility.
Frequently Asked Questions
What’s the difference between a trim router and a small handheld router tool?
“Trim router” is often used interchangeably with small handheld router tool, but technically, trim routers are a subset designed specifically for flush-cutting laminate or veneer. Most modern compact models serve both purposes.
Can I use a small handheld router tool on metal?
Only with specialized carbide bits and very slow speeds—and even then, it’s risky. Stick to wood, plastic, or soft composites unless your model explicitly supports non-ferrous metals.
How do I prevent burning on hardwoods?
Reduce feed speed slightly, ensure bits are sharp, and never stall the router in one spot. Burning occurs from excessive friction, not heat alone.
Is dust collection necessary?
Yes. Fine particulate from MDF or plywood poses respiratory hazards. Many compact routers now include port adapters for shop vacuums—use them.
Where can I get personalized advice?
We’re happy to help! Reach out via our Contact Us page for project-specific guidance.
Do these tools work for beginners?
Absolutely—if you start simple. Practice on scrap pine with a round-over bit before tackling expensive materials. Mastery comes with controlled repetition, not brute force.
Remember: a small handheld router tool isn’t just hardware—it’s your shortcut to craftsmanship. Treat it with care, feed it clean wood, and it’ll repay you in flawless edges and quiet pride. Now go make something beautiful… and clamp it down first.